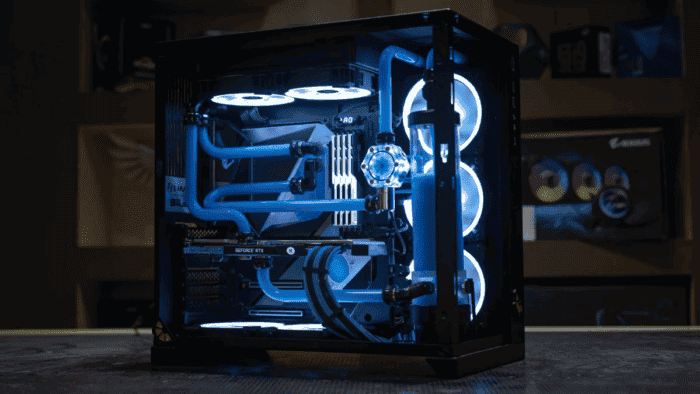
With the advent of smartphones and tablets, portability became almost everything. While laptops have been around for a while, smartphones gave users the possibility to have portable computers at the palm of their hands without the limitations of conventional PCs. Of Course, while they’re limited in terms of portability, conventional PCs are still way more powerful than smartphones. While this does not change, regular PCs with powerful hardware are still a must for professionals, gamers and enthusiasts (via). Do you want to build your own PC? Check this article with 20 PC building Tips for beginners.
If you’re aiming at a Windows or Linux PC, you’ll probably need to build it from scratch. Although there are many websites selling PCs with pre-configurable hardware, there is nothing better than tweaking your setup by your own. When you’re building your PC, you can carefully select your hardware. You can pick the best motherboard, the best GPU, RAM memory and etc. At the same time, when you’re trying to save some money, but still, have a good computer, building it from scratch is a nice option to get the best value for your money. For that reason, we’ve selected these 20 PC Building Tips to help you to get your perfect setup without much hassle.
20 Best PC Building Tips for Beginners
Building your PC from scratch offers some neat advantages. You can save money, and you can also learn something new while joining a community of hardware enthusiasts. Once you finish, you will feel a sense of pride for making that PC yours.
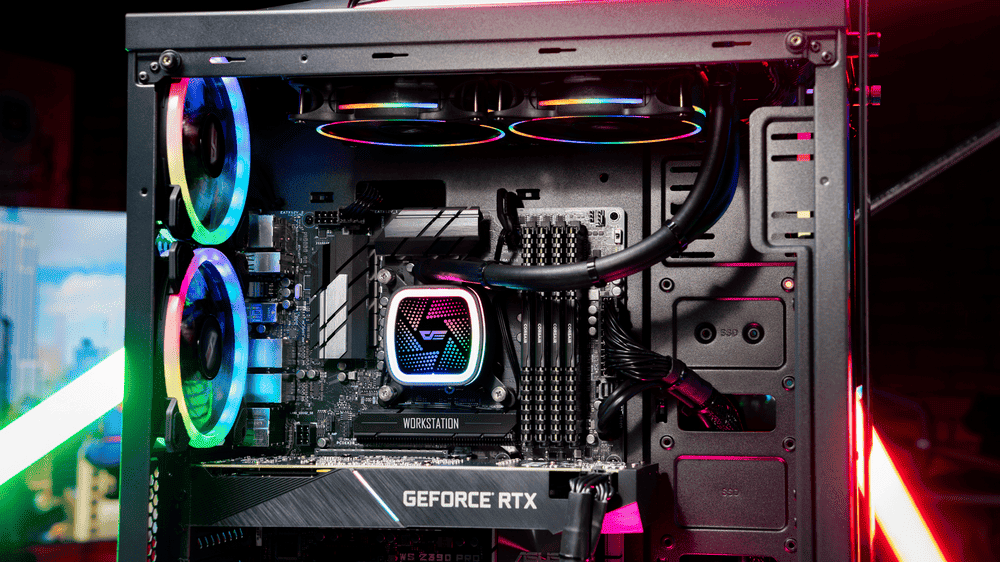
For beginners, building a PC from scratch can be quite intimidating. For that reason, we’re providing this list with some of the best 20 tips for building your PC from scratch. These tips are valuable for beginners that have decided to make their PC out of a pile of hardware and peripherals. So without further ado, let’s follow the 20 PC Building Tips for Beginners.
Tip 1 – You’ll need to determine the purpose of your PC build
First things first, and in this case, determining your PC purpose is the best way to start. What is the reason you’re making a PC from scratch? Do you want a good PC for gaming? Are you looking for something that can handle your creative work? Are you building a PC for coding? For Editing Videos? Or perhaps, you just want a decent PC for web browsing and lightweight productivity? Maybe it’s a combination of all ideas. In any case, your motivations will certainly influence your decisions when buying the components of your PC. So get a good idea of your objectives and start with what fits better in your purpose.
Tip 2 – AMD or Intel
We won’t delve into the specifics of each company, but be ready to decide between AMD or Intel when building a PC. The CPU is the core, and for most cases, everything will be related to it. You will pick a motherboard based on your CPU, your cooling solution will be based on your CPU, everything cycles around the CPU. It’s not the only component, but it’s the first you need to consider at the beginning.
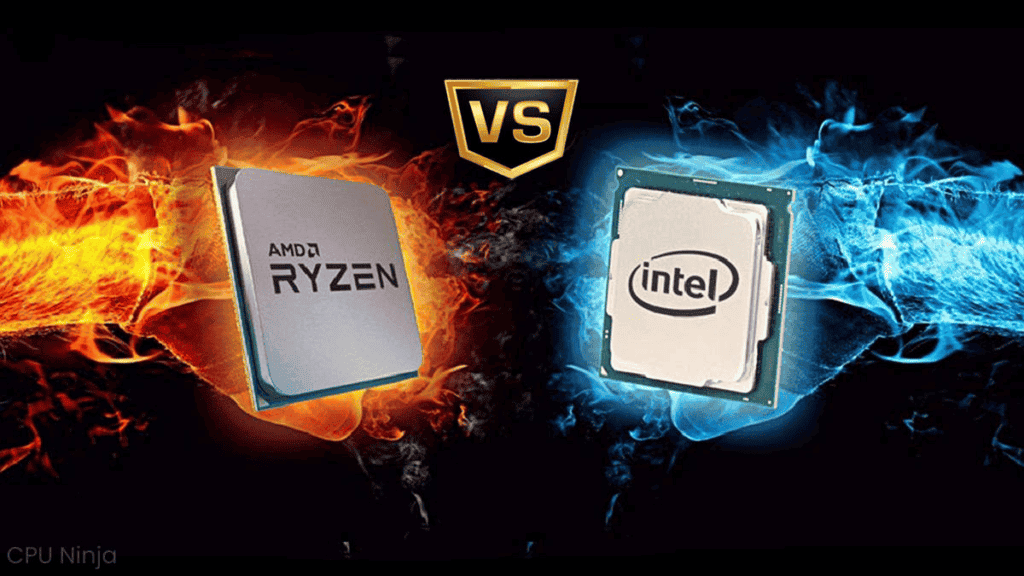
You can’t go wrong with either brand, but each one has its advantages and disadvantages. If you’re for value-for-money and performance, then AMD might be the best option. However, at the same time, Intel will not make you sad with stellar performance. Are you picking a Ryzen CPU or a Intel Core series? Do some research and take your conclusion based on your needs.
Tip 3 – Pick a Cooler with Thermal Paste Included
You’re a beginner building your first PC and you don’t have all the expertise of a technician. Well, after you’ve picked your CPU, you will need a cooler to keep things operational. Well, one advice for beginners is to pick one cooler that has thermal paste included. For first-time users, getting the right amount of thermal paster, and applying it in the correct form can result in a mess. So, to avoid one extra-step, go for a good cooler solution with pre-applied thermal paste. Some CPUs come with the cooler included, so that can save you some time.
Tip 4 – Make Sure All The Components are Compatible
There are multiple variations between the components. There are different hardware flavors and distinct manufacturers. Not them all will play well together. Like said above, you will need to pick the correct motherboard for your CPU. But also, if you’re picking the fastest SSD you’ll need to make sure it has a M.2 slot. Do you want 2 RAM slots or 4? All these are facts to consider, what is the standard of RAM supported by your motherboard?
Make sure you’re building a list of components that play well when combined. There are many possible combi
Tip 5 – Be Careful with the Components
Keep in mind that each component is fragile and can break before you even install them. Be extremely careful with the CPU and its golden contacts. If you look at the motherboard and the CPU there is an indication arrow that will tell you the direction you need to attach the CPU to the motherboard. Don’t force it or you can easily bend the pins.
Tip 6. Discharge the statics
It’s important to be careful with the static electricity. A static discharge can easily destroy the components. So, one alternative is to use an anti-static wrist strap. However, we assume that beginners don’t have these laying around. So the alternative is to touch a metal object that’s not part of the computer before you begin work.
Tip 7. Be Careful Again
I told you to be careful with the components because of their fragility. However, you also need to be careful with your health. Cheap cases can have sharp edges, so take care when handling it.
Gizchina News of the week
Tip 8 – Prepare the Tools
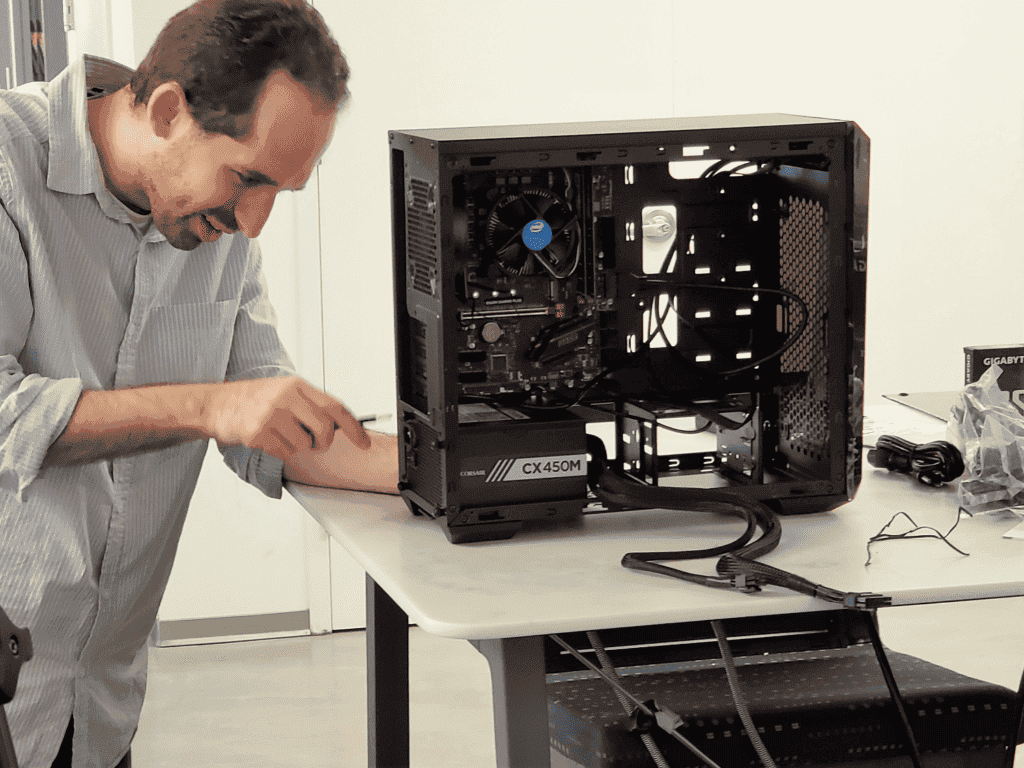
Get your toolkit ready for the adventure. You will likely need mid-sized Philips head screwdriver for most of the cases. We also recommend you to get a three-pronged parts retrievers. Some screws can easily fall inside the case and you will have a headache to recover them. Of course, you wouldn’t want them to jump through the case once the job is done.
Tip 9 – Prepare the Workspace
Just like the toolkit, you will also need a decent workspace. The work will go smooth if you’re handling everything in a place with decent lighting. We also recommend a large table for handling the components easily.
Tip 10 – Long Fingernails can be helpful here
Well, that may sound strange, but having longer fingernails in this job is quite useful. It’s quite useful for holding teeny tiny screens or for helping you to pry things open. But again, be careful, we don’t hold your hurting yourself.
Tip 11 – Be Careful With Your Hair
Again, another tip that may sound strange. But if you have a long hair, it may good to hold it for a while.
Tip 12 – Check the Manuals and Follow Instructions If Any
I know some like to have the feeling of Doing It Yourself. Perhaps, you know the general about PC building. But some components may have some specific details. Check the instructions if any, and look for additional information if you come across something out of the unusual.
Tip 13 – Follow the Clicks of Right Installs
Be aware of some “clicks” when attaching certain equipment. When installing RAM, you will hear a click and will see the side attaches connecting automatically. The same goes for SATA cables and etc.
Tip 14 – Don’t force components, look for additional info if something is not fitting
As we’ve said components can be fragile and can be bent or broken if you handle them with negligence. If something is not quite fitting where you think it’s “supposed to”, that may be because you’re installing it wrong, not because you’re failing to shove it in an aggressively enough.
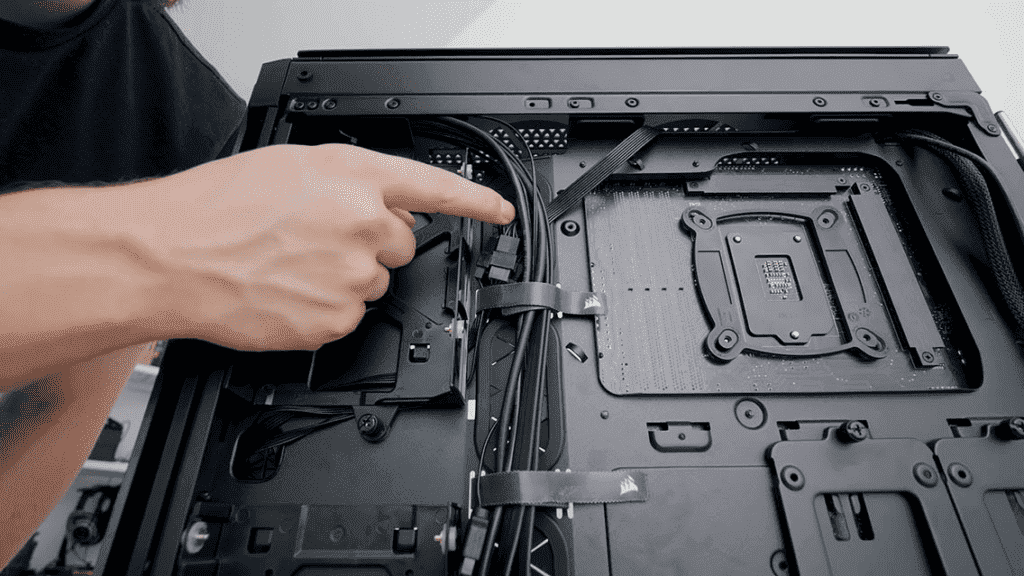
Tip 15 – Try to Keep Cables Neat as You’re building
The setup can become a huge mess with cables. Nowadays, with so many cases that bet on letting the internals on sight, you probably don’t want the cables ruining the view. Try to keep them arranged properly. One advice is to use the opposite side of the case to pass the Power Supply cables. You can use zip ties to group installed cables together and get more space in the case.
Tip 16 – Be Patient with the I/O backplate
This detail needs an own section because it can seriously be painful. You will need to make sure it is flushed against the case, it will also make a clicking noise when in properly. Use two fingers to cover the length of the backplate, and push it in while eyeing the outside of the case to ensure proper alignment. Extend two fingers to two diagonally opposite corners. Pop those corners in before moving over to the next corners. Run your fingers along the backplate’s perimeter to make sure it’s in all the way.
Tip 17 – Don’t forget to Flip the Switch on Power Supply
Some Power Supplies come with a switch ON/OFF. This sounds trivial, but don’t forget it, after you’re done.
Tip 18 – Make Sure All Your Peripherals Work Properly
Test your peripherals to know if they’re working properly. That sometimes can save you from serious headache. If you try to pair your setup with a non-functioning monitor, then there won’t be image. You don’t want to go an disassemble all the setup when the real culprit is a non-working peripheral.
19. Select your OS and prepare the Install
Well, your PC build is the hardware, but you will need an Operating System to do all the tasks. You need to choose between Windows or Linux. Each software has its own perks. If you aim maximum compatibility with gaming and apps and a familiar experience, you may want to pick Windows. However, if you’re into coding and up to learn new things, Linux offers some unique perks. Also, while Linux-based distros are available for free, Windows requires a paid license.
20 – Have Fun in the process!
Remember that fun is part of the process. When you’re building your own PC, you’re learning new stuff and getting hands dirty to build something that will be totally yours.
Conclusion
As you can see the process of building your PC is not too hard, but can be tricky. Pay attention and follow these 20 PC Building Tips tips to get your perfect setup running smoothly in a few minutes.

